

Instagram’s partnership with GIPHY was one of the greatest updates Instagram could give us in 2018 and, to this day, remains one of the most used features on the app. The amount of GIFs available in Stories is now huge, but if you feel there is always a missing one that perfectly fits your brand’s aesthetics, well, we’ve got you covered and that’s why in this article we will teach you how to create custom GIFs for use on Instagram.
Stickers vs GIFs
What we commonly call GIFs works on Instagram the same way as their stickers. And that’s what happens with the Instagram Stories GIFs that, for the most part, have no background. This information will be important when creating a GIF with programs such as Adobe Photoshop or After Effects.
Remember: they must always be exported with a transparent background to appear in the Instagram search. So let’s call the story GIFs stickers in this text because they work like stickers, but they keep moving like any other GIF, understood?
How to create custom GIFs in Instagram Stories
After a racist GIF incident on Instagram, GIPHY changed some community rules and policies to accept new brand profiles on their service. Now it separates artists seeking to promote their work and companies that want to distribute brand-related content. Within this scenario, the process to be accepted also takes longer. That’s why we’ve set up a step-by-step guide so you can do everything right and get accepted as fast as possible.
Create a GIPHY account
Go ahead and create your GIPHY account. Previously, you could create an artist or brand account at this stage, but some recent changes in company policies have changed the process. You will first need to create a regular account and then make a request to change it.
- Choose a username for your account. Ours, for example, is Postgrain which is visible at https://giphy.com/postgrain;
- Set a password. Remember: choose a strong and secure password;
- Complete with a birthday and if you wish, a gender;
- If its your first time with GIPHY, I’d recommend reading their Terms of Service.
Now that you have created an account, do the following:
- Go to your GIPHY Account Settings and make your channel in public;
- In About, write a description of who you are (for artists) or what your business does (for brands);
- If you have a website, use it. You’ll be more likely to get a branded or artist channel approved if you have one;
- In Social Links, enter all links from your social networks. It will be important for GIPHY to know that you really exist;
- Also, don’t forget to put a cool avatar on your account.
Ok, your profile is created!
Now go ahead and upload at least 5 GIFs to your channel. GIPHY recommends that artists insert from 5 to 10 (or more) original GIFs. So ideally, after you upload a reasonable amount of GIFs that you created and, of course, accurately reflect who you are or what your brand is, you’ll be ready to go.
Now, with your account created and the GIFs uploaded, you must claim a special GIPHY account.
Claiming a special GIPHY account
You can claim an official GIPHY brand or artist account using an existing account.
- Visit the application form for brand or artist accounts;
- Check if you are applying for a brand channel or an artist channel. Important: before proceeding, make sure you are eligible to submit your request;
- Enter your email address. Remember: for artists, use an email that’s easy to reach you, and for brands, use an email with your official domain;
- Choose an available username. Try to avoid using numbers, underlines or other special characters;
- Enter your full name in Contact Name. For artists, pseudonyms are acceptable;
- On Website, if you’re a brand, put a working web page. Social channels are not accepted here! For artists, put the address where you can see the best showcase of their work;
- Fill in the Social Profile field with the social address. It can be Facebook, Instagram, Twitter etc;
- If you are applying for a brand channel, you may want to fill in the Parent Company field. It is not required, but if you find it relevant for your business to report that this brand is a subsidiary of another company, do it;
- In Location, say where you are;
- Upload an avatar size 250 x 250, in jpg, png, or gif;
- Click Submit Application.
Now we wait. Because of the new special account acceptance policy GIPHY, now looks at each request individually, which means they will also look at each element of your account and the GIFs you have created. You’ll eventually get an answer in your email.
Although unusual, if the answer takes too long to arrive, you should contact GIPHY at partnerships@giphy.com or ask for help through this form by choosing either GIPHY for Brands or GIPHY for Artists.
Verifying your GIPHY channel
Having an artist or brand account on GIPHY does not guarantee that your GIFs will appear on the site’s own search engine and therefore on Instagram. So if you are accepted and GIFs are still not showing up, it is best that you request verification from your channel.
The process must also be done using this form available on the support tab. This time, however, you should select Becoming verified.
Verified channels get a blue badge, which appears next to their username just like on Instagram. But only applicants accepted in the first step of account claim can qualify for verification.
If you have any further questions during the process, you can reach GIPHY’s support team through this link.
How to create custom GIFs with Photoshop?
Ok, you already have a GIPHY account and now you finally want to start creating GIFs. After all, the better content you have within your channel, the easier it is to get accepted.
Always remember that if you are creating GIFs for Instagram, the file must have a transparent background, which is the best format to use in Instagram Stories.
Creating custom GIFs requires an image editing software such as Adobe Photoshop, Animate or After Effects. For this post specifically, we will be using Photoshop as an example.
First you need to have the images you want to make GIF ready. For this example, I created three PNG images on a transparent background with the same word “GIVEAWAY” and just changed the color of each one. Of course this is just a sample and you can be much more creative when creating your GIFs.
But let’s get to it:
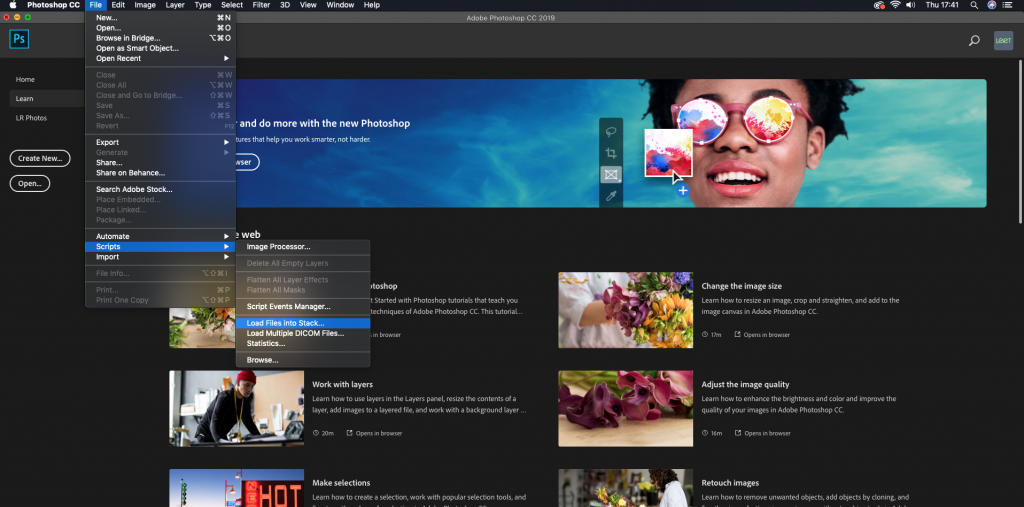
Open your Photoshop. Click on File > Scripts > Load Files into Stack.
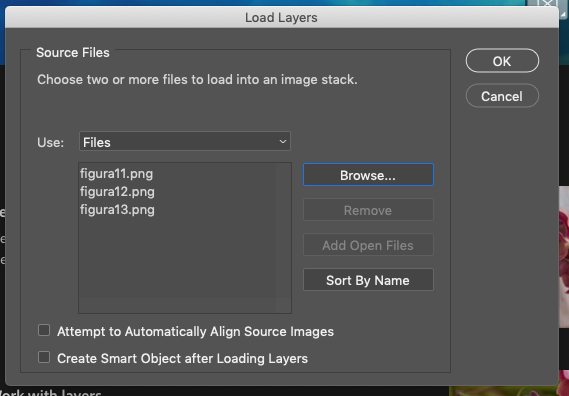
Here you will browse all the images you want to place inside the GIF. Remember to select them all by holding CTRL (windows) or command (MAC) before clicking OK.
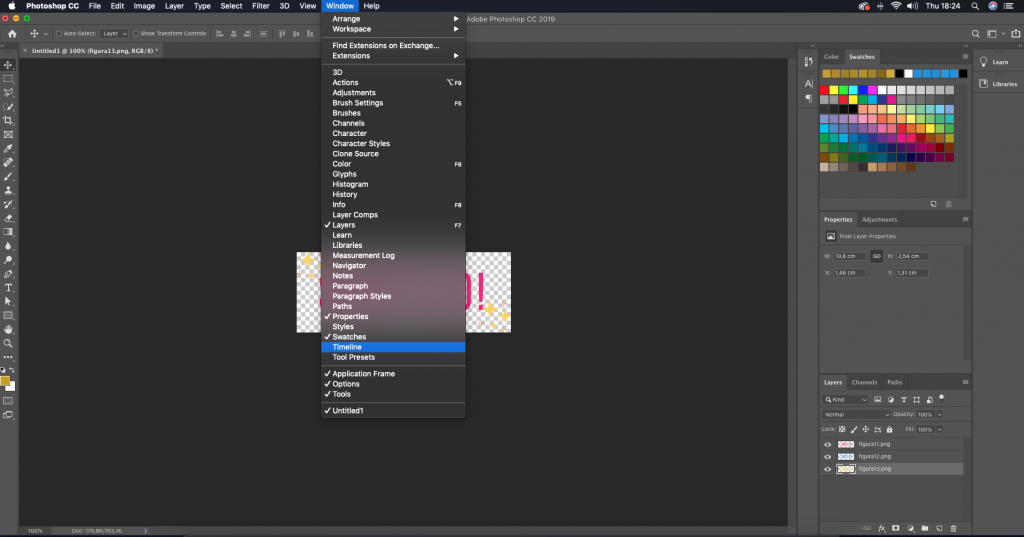
In the top menu, click Window > Timeline.
A timeline will appear at the bottom of the screen. Click on the arrow and enable the Create Frame Animation option. Then click inside the comic that appears in the middle of the timeline.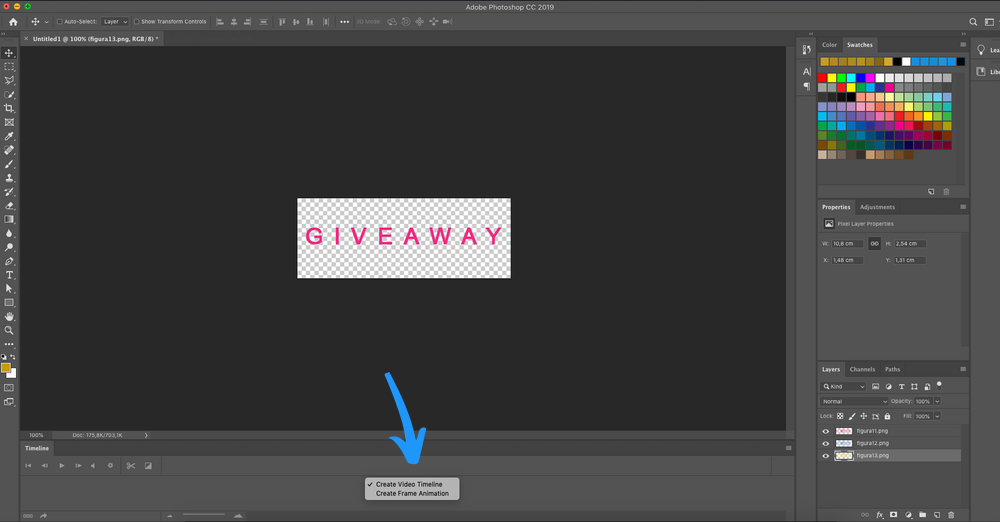
Now click on the three lines in the right corner and select the Make Frames From Layers option.
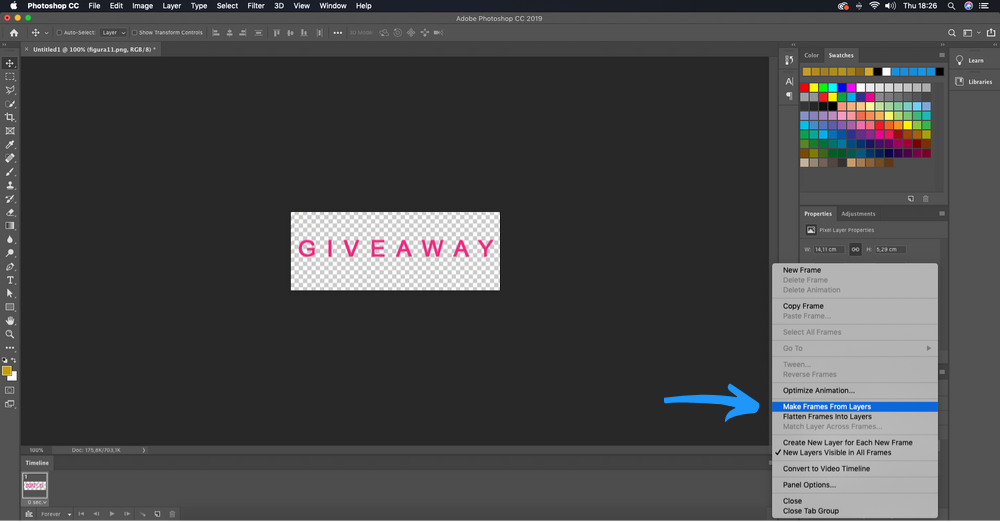
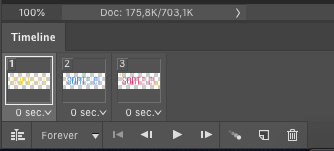
Photoshop will create a frame for each image, so you can set the duration of each image within the GIF. Here, I set all layers to last around 0.2 seconds. But you can leave one with 0.5 seconds to highlight something, for example. You can also slowly test it and keep playing on the “play” symbol to see how it looks!
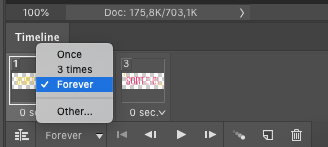
Make sure to change your GIF looping options to always so that it never stops playing.
When you are ready, just click File> Export > Save to Web. Then click Save.
All set, your GIF is ready!

Now it’s time to upload your sticker on GIPHY!
Uploading your GIFs to GIPHY
- Click here to upload to GIPHY;
- Select the file you want to upload and add tags so that it can be found faster. In our case, I added “giveaway”, “promotion”, “promo”, “sale” and of course “Postgrain”. Always remember to add your brand name so that people can find your content quickly;
- Choose the visibility of your GIF. If you want it to be found, you must make it public;
- Under Rating, you will indicate the age range for which your GIF will be displayed. The acronyms G, PG, PG-13 and R are, respectively, free for all audiences, children, children up to 14 years and adult content.
- Ideally, you should create GIFs that can always be embedded in G, meaning free for any age!
- Click Upload to GIPHY.
Your GIF was successfully uploaded! To round it all up we’ve put together the best tips for whenever you create a new GIF for Instagram Stories:
- The ideal size is 600×600 pixels (keep a 1:1 ratio when possible);
- Remember your GIF should be always looping (continuous motion is a must) when exporting;
- GIPHY indicates that the file size shouldn’t exceed 100MB or 15 seconds (ideally it shouln’t be longer than 5 seconds);
You can check other tips from the GIPHY itself here.
Adding your GIFs to Instagram Stories
Go to your Instagram Story and drag the feature tab up (or hit that icon that stands for stickers). Then choose the GIF option;
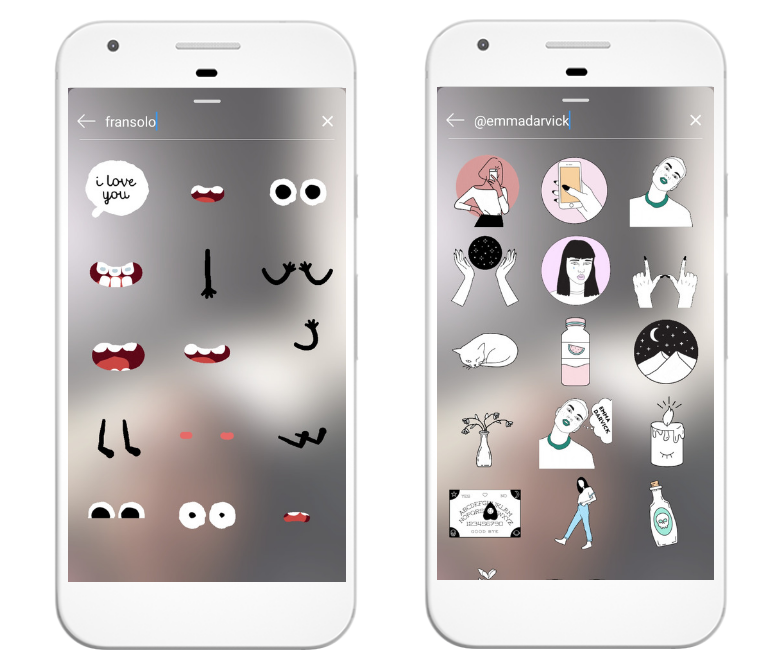
In the search, type the name of the GIF you want to find (you can also search for usernames);
Tips when using GIFs on Instagram Stories
Like every feature within Instagram, there are some tricks that can help you further optimize the use of GIFs within Stories.
Creators to keep in mind
You can search for a channel or brand within Stories. If the brand name alone doesn’t work, just put use the @ of the profile or search for them with a hashtag at the beginning. For example, you can find our content by searching for #postgrain or @postgrain.
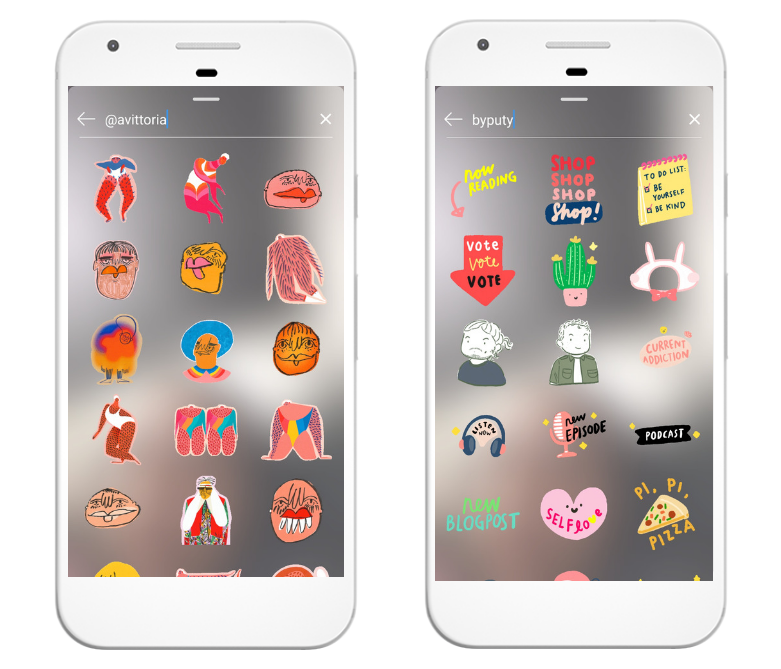
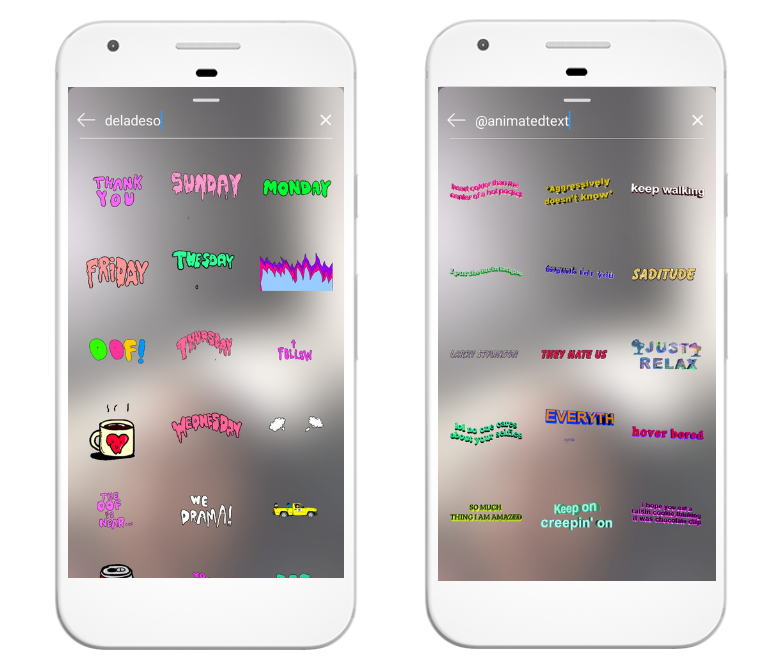
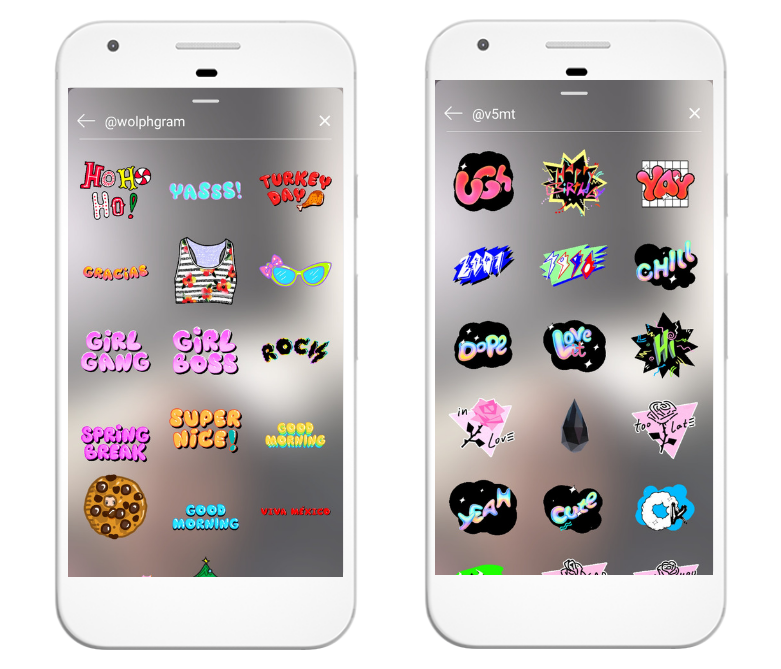
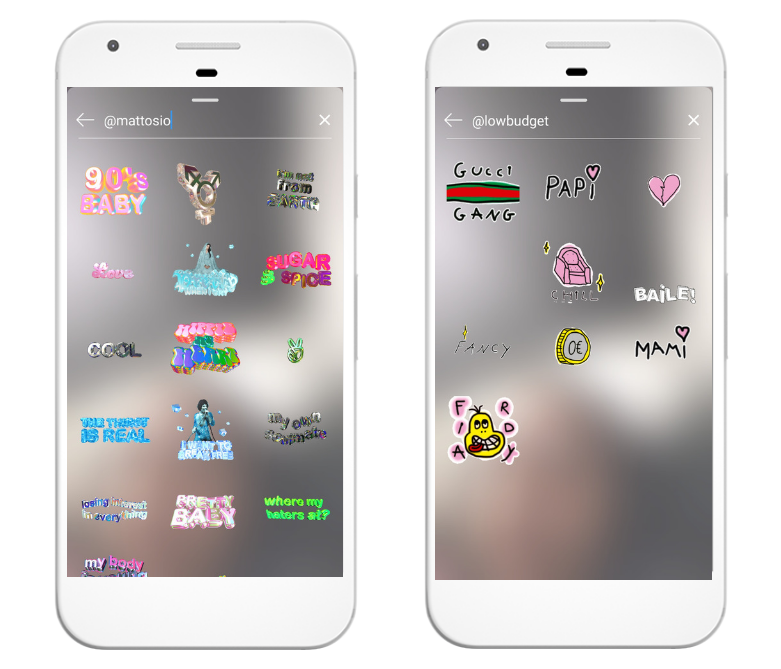
Some artists available on Instagram GIFs produce premium content. We have made a list of our favorites to save you around and always have these options when it comes to leveling up your content:
@fransolo
@emmadarvick
@avittoria
@byputy
@deladeso
@animatedtext
@wolphgram
@v5mt
@mattosio
@lowbudget
Use call-to-actions
You can always use stickers to encourage users to take action. If you already have 10,000 followers and therefore can link to stories you can use swipe up GIFs to encourage people to go to your desired URL.
Another example is using arrows to indicate that content continues in the next story or even an arrow to show that the user must click to go see something on your feed. You can even create your own call to action “style”, suggesting that people take action in a playful way.
Search in English
GIPHY is an American site. Even if you are not a native speaker you will have more options when looking for GIFs if you do this. It will save you a lot of effort and give you a lot more possibilities than using your own content sometimes.
To sum it up
When you’re using GIFs in Instagram Stories like most things in life, try not to exaggerate and use them sparingly. This way you avoid undermining your own content and prevent your audience from having to deal with too much information at once.
Did you like this post? Know any other cool artists on GIPHY?
Share with us in the comments!